HOMESTEAD LIFE: DRY CANNING FLOUR
There are several ways to preserve flour, including vacuum sealing, airtight storage containers, dry canning and even freezing.
Dry canning flour has not been tested by the NCHFP, however untested does not mean unsafe. It just means it has not been tested in a government laboratory.
I am sharing how my family preserves flour through dry canning. As with anything, I recommend doing your own research to determine what you feel is safe for your family.
Why do you dry can staple items like flour, rice and beans?
While vacuum sealing is a perfectly acceptable way of preserving staple items by removing air from the bag or jar, it doesn’t necessarily kill the bugs or larvae that could be lurking in your dry goods.
Dry canning can only be done with low acid, low moisture foods with no added oils. This is why dry canning items like flour, rice and beans is ideal. You need to take every precaution to not allow any moisture into the food you are canning or the jars.
Bag of Flour (I like to use the 25 lb bags from Costco when they are on sale, but you can do this with any size or type of flour)
Quart or Half Gallon Size Mason Jars
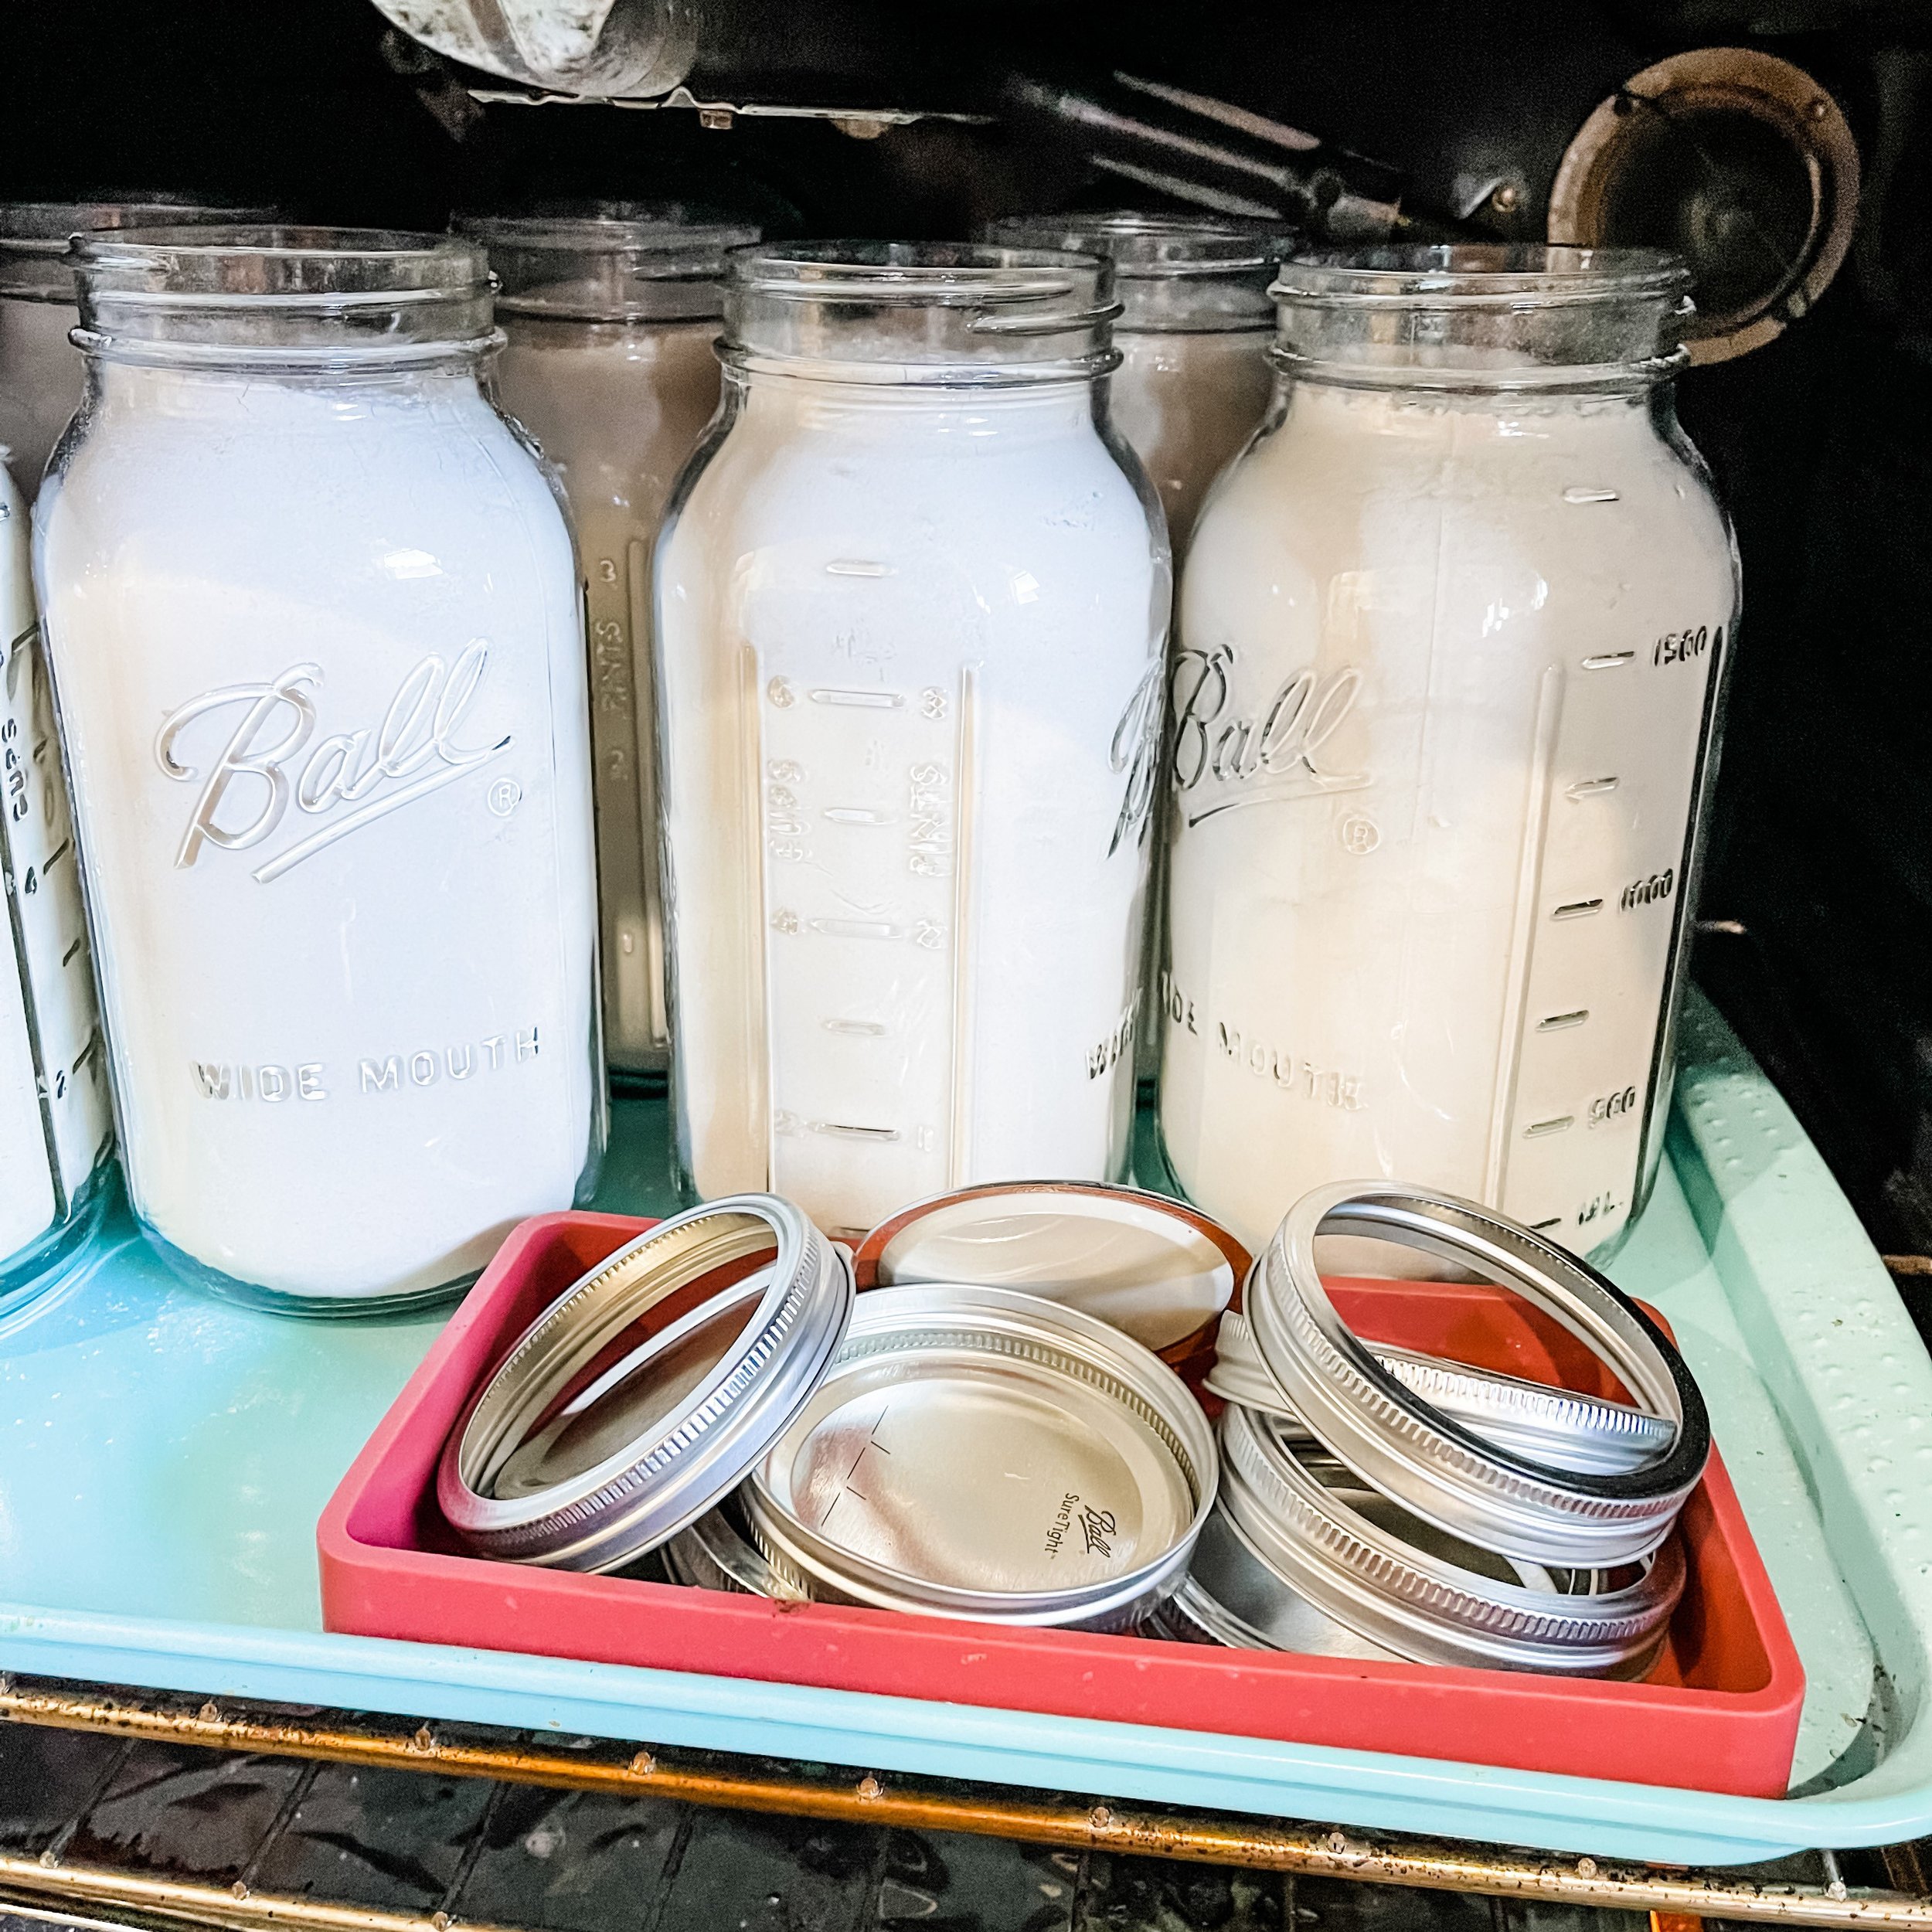
Preheat oven to 225 degrees. Place clean jars on a baking sheet and place in oven for 25 minutes. This will sterilize the jars and dry any residual moisture. It is crucial to make sure there is no moisture inside or outside of the jar.
Remove from oven carefully with oven mits or jar grabbers. Remember at this point that the jars are considered sterile.
Fill jars to 1 inch headspace. Use the bubble remover to help remove any air pockets and gently tap jar on towel to settle flour and add more as needed.
You will place the jars in the oven without lids for a total of 45 minutes. When 30 minutes has past, place lids and rings in an oven safe dish in the oven to sterilize for the last 15 minutes of processing. Do not put the lids and rings on the jars yet.
Carefully remove jars and place on a towel or trivet. Wipe rims with a damp paper towel to remove any flour remnants. Be careful to not let any moisture get into the jar.
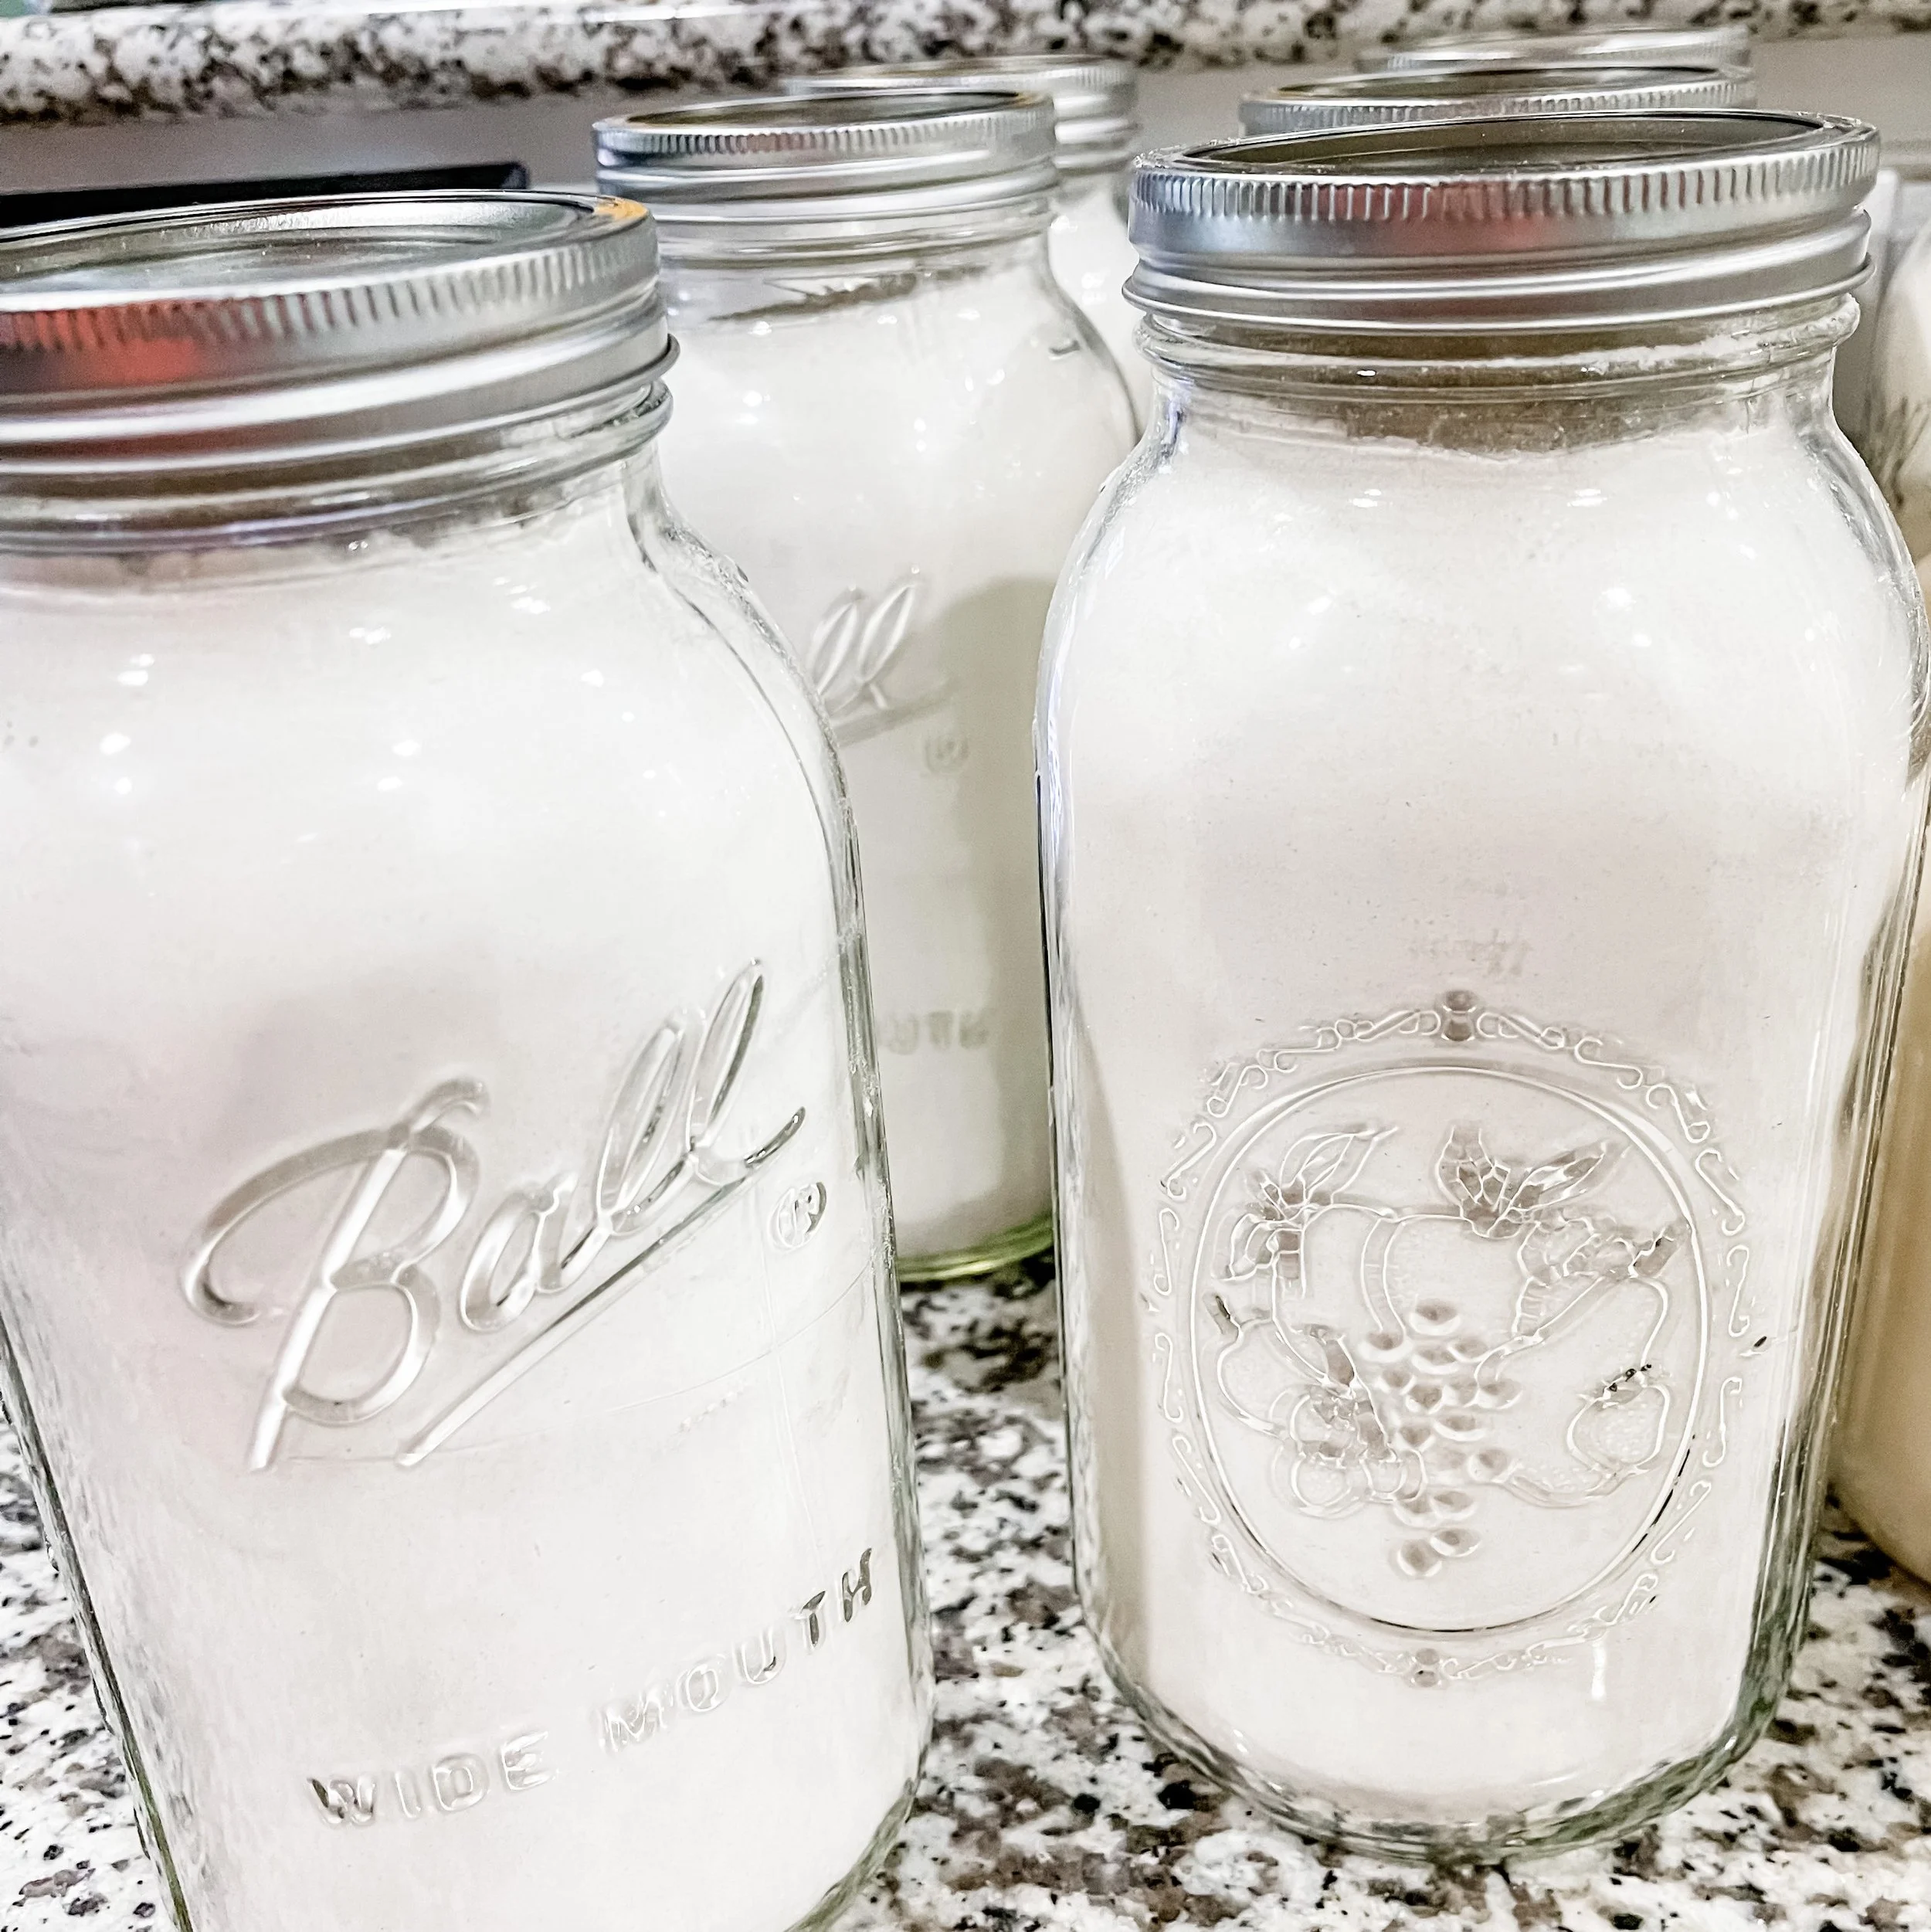
Place canning lid on jar and secure with metal ring to slightly more than fingertip tight. Leave jars on counter to cool overnight. As the jars cool, the lids will seal. After 24 hours, remove rings and check for a tight seal. If your jar does not seal, you can either use the flour in your pantry or reprocess the jar.
If you are concerned about air in the jar, you can add in the vacuum sealing step using a vacuum sealing attachment to remove any remaining air.
Once the jars are completely cooled and you have checked that they sealed, it is important to label the jars with the contents and date of completion.
Why do you can food?
I’m a modern homesteader. I have a small garden in the spring and summer that we eat fresh vegetables from. However when I’m thinking about creating a food reserve, I’m thinking about it in a very practical way for my family.
I only preserve items that my family consumes on a regular basis. We pull from our canning reserve regularly. We also replenish it regularly. Therefore I am always looking for sales on the things we eat on a regular basis or that I can use to make ready-to-go meals like chili, soups, meat bases (spaghetti meat, taco meat, etc.) and staple items that I use regularly in the kitchen.
Why do you can staple items like flour, milk and butter?
As grocery store prices continue to rise and grocery shortages continue to be a very real issue, I like the peace of mind knowing that my family is taken care of and that if I want to bake a cake or make bread, I’m able to do so.
Are you a prepper and building up a food reserve?
I like to refer to myself as a modern homesteader and when thinking about taking care of my family often revert back to the ways of the woman in Proverbs 31. My family very much enjoys the modern amenities that we have, I still place a Walmart grocery order every week and we don’t have a bunker (much to my husband’s dismay), BUT I do believe that it is wise to prepare for the unexpected. That includes job loss, financial setbacks, grocery shortages, inflation, etc.
Disclaimer: This post may include affiliate links. By shopping through these links, we receive a small commission through affiliate programs like Amazon Associates, RewardStyle and LikeToKnowIt, all at no cost to you.


